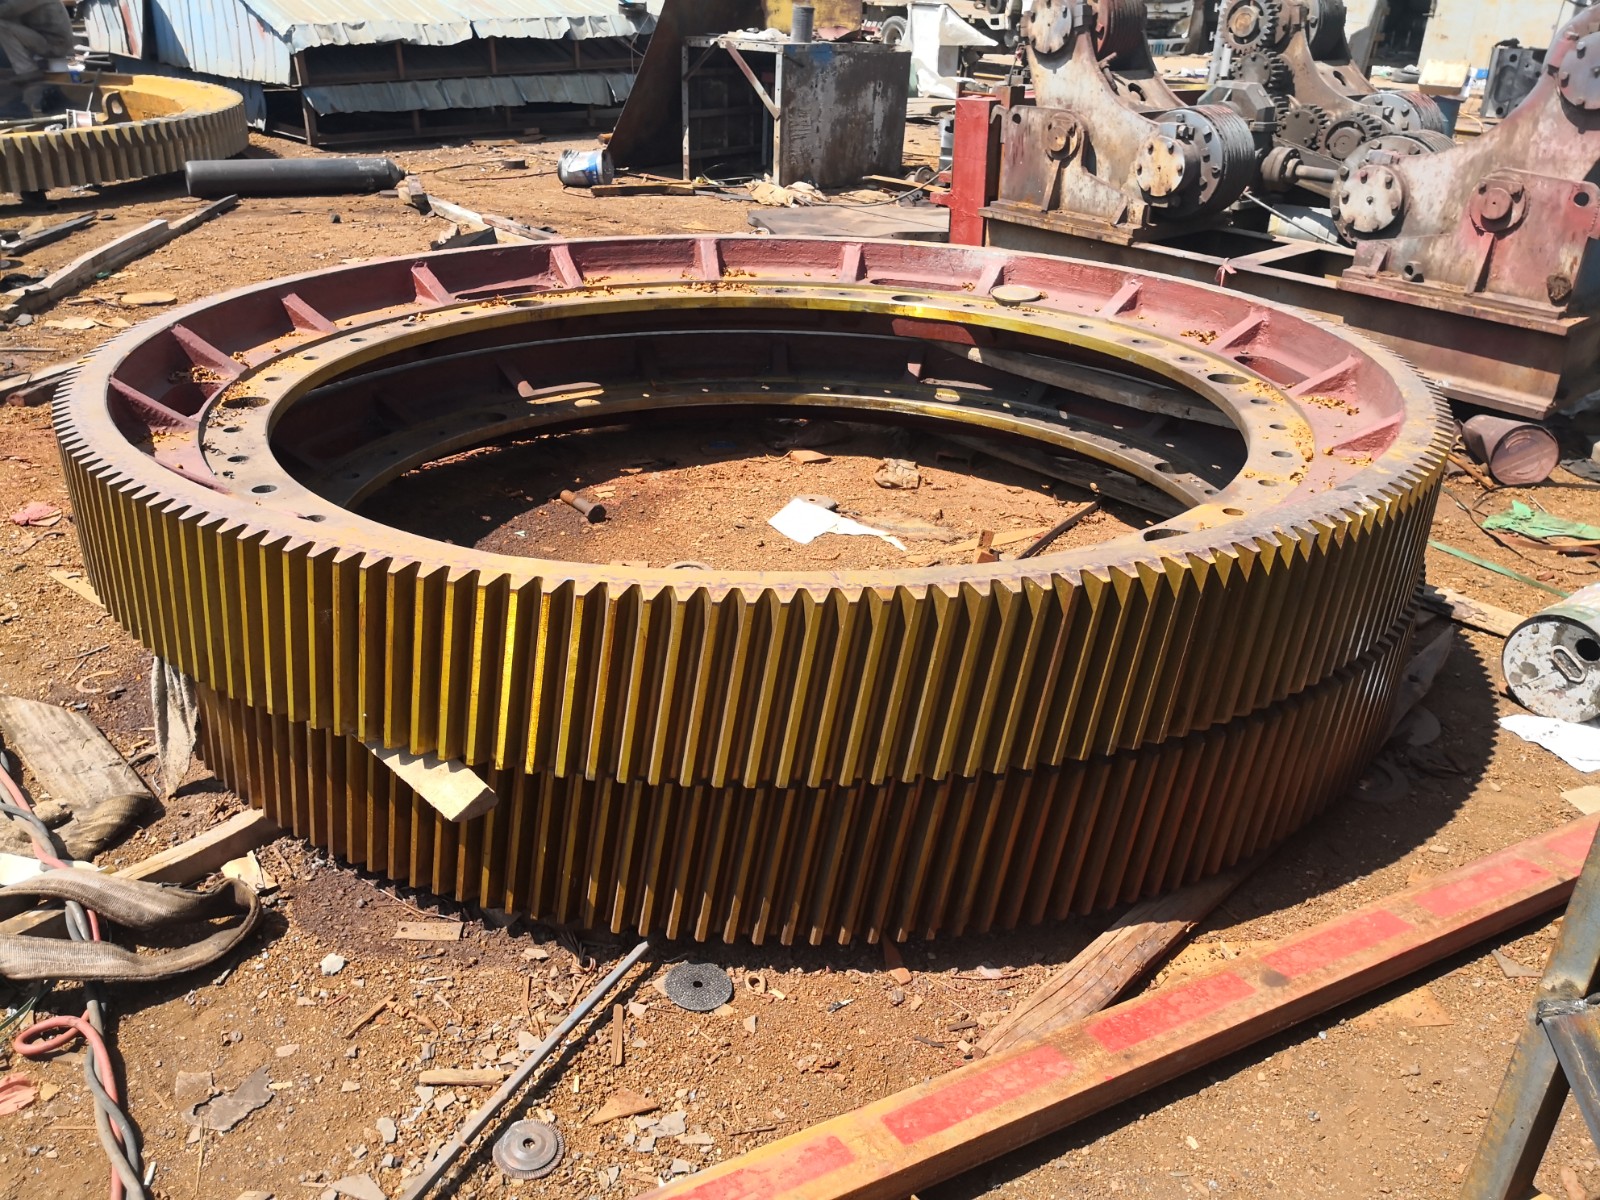
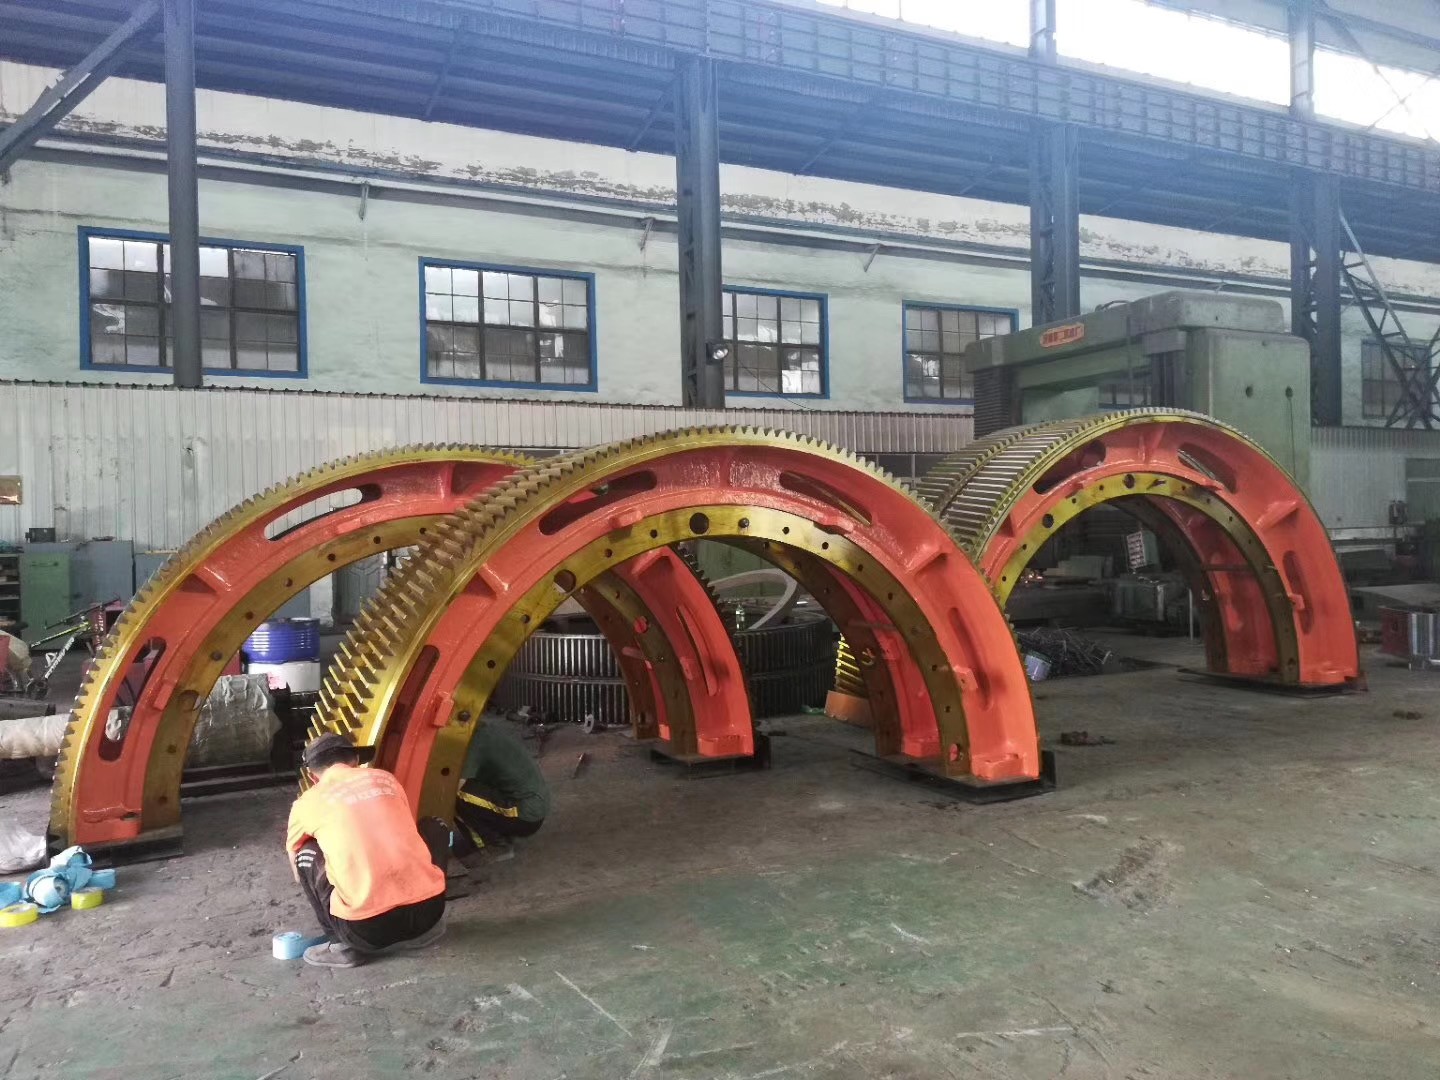
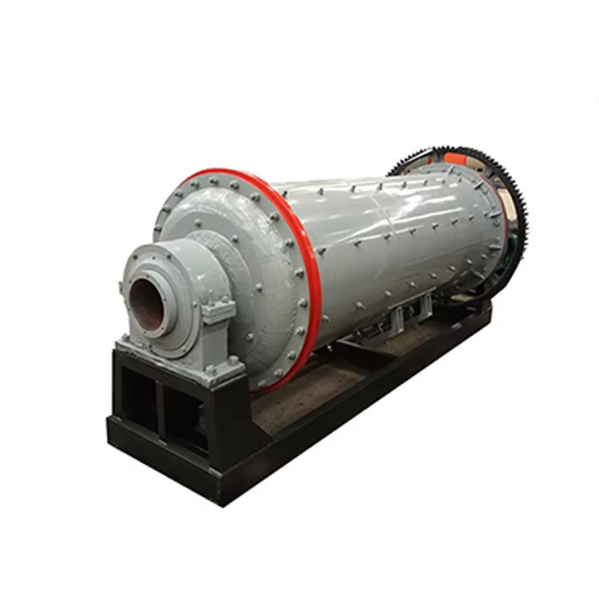
1. Installation method of the big gear of the ball mill for grinding ore in the mine.
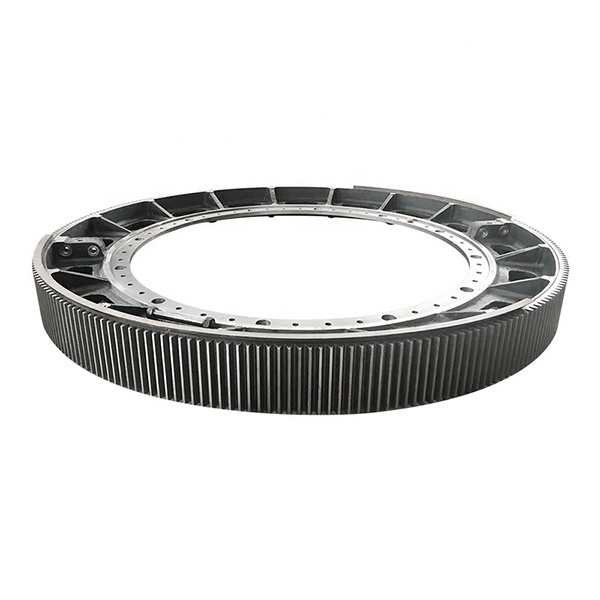
At present, in the ball mill of the concentrator, the large gear and the barrel of the self-milling machine need to be fixed on site with multiple bolts. During installation, the center needs to be found and the positioning is fixed. The bolt is partially loosened, and the big gear is moved by hammering the big gear to adjust the position. Because the displacement of the big gear is difficult to control, it requires multiple adjustments to meet the technical requirements, which is time-consuming and labor-intensive.
In order to overcome the time-consuming and labor-consuming deficiencies of traditional large gear installation methods, we provide a time-saving and labor-saving method for installing large gears of ball mills.
2. The technical solution is:
1) Preparatory work; A. Tools: jack, dial indicator, reamer, skid, wrench; B. Preliminarily install the big gear on the cylinder, and the cylinder is installed on the bearing bush;
2) Measure the eccentricity of the big gear and the barrel: Use a dial indicator to measure the eccentricity of the 8 tooth tops of the big gear and the barrel, and calculate that the half of the difference between the maximum eccentric value and the minimum offset is the big gear Need to shift value;
3) Adjust the concentricity of the big gear and the cylinder: turn the tooth with the maximum deviation value to the side of the pinion gear base, and use a jack to place it on the pinion base and the maximum eccentricity top skid. The maximum eccentricity value is the minimum eccentricity opposite to the tooth Set the value of the tooth top on the dial indicator, push the jack, the indicator change of the dial indicator is the same as the above calculated value, stop adjustment, and tighten the fixing bolts until the technical standard is reached;
4) Positioning of the big gear: Remove the 3 fixing bolts evenly distributed on the big gear, use a reamer to ream the 3 dismantled bolt holes into positioning holes, drive the three positioning bolts into the positioning holes, and tighten the nuts. A jack and a dial indicator are used to move the big gear, the moving size of this method is measurable and controllable, and the calculation data requirement can be met at one time, thereby achieving the purpose of saving time and labor of the present invention.
3. detailed description
Preparation:
1. Appliances: screw jack 2, dial indicator 7, reamer, skid 3, wrench;
2. Preliminarily install the large gear 4 on the cylinder 5, and the cylinder 5 is hoisted on the bearing 6;
3. Measure the eccentricity of the big gear 4 and the cylinder 5:
Mark the tops of the 8 teeth to be measured evenly at the spacing of the large gears. The magnet base of the dial indicator 7 is attached to the large gear cover 8, the dial indicator 7 is placed on the tops of the teeth to be measured, and the reading is recorded. Two measuring tooth tips are measured, one by one to 8 teeth is measured, according to the measured eccentricity value, the half of the difference between the maximum eccentricity value and the minimum eccentricity value is calculated as the data that the gear 4 needs to be shifted and adjusted;
4. Adjust the big gear 4 to be concentric with the barrel 5
Turn the tooth with the maximum eccentric value to the side of the pinion base, and use the screw jack 2 to press on the pinion base 1 and the maximum eccentric tooth top skid 3, and the minimum eccentric tooth top is on the opposite side of the maximum eccentric tooth. On the dial gauge 7, record the reading of the dial gauge 7, loosen part of the big gear 4 fixing bolt 4-1, jack the jack 2, move the big gear 4 toward the dial gauge 7 and move it to the dial gauge 7. When the reading is the same as the value calculated above, when the big gear 4 needs to move, stop the operation of the jack 2, remove the jack 2, rotate the big gear 4, and measure the concentricity of the 8 tooth tops and the cylinder body until the requirement is reached. Tighten the fixing bolts 4-1 of the big gear 4; 4. Positioning of the big gear 4: remove the three fixing bolts 4-1 on the big gear 4 at 120° intervals, and ream the three bolt holes into positioning holes with a reamer. Drive the locating bolts 4-2 into the locating holes and tighten the nuts to locate the large gear 4 and the barrel 5. The installation is complete. Because the jack 2 and the dial indicator 7 are used to adjust the shift of the big gear 4, the displacement size can be measured and controllable, and the pre-calculated big gear 4 needs to be shifted data can be adjusted once, saving time and labor.
